Category: Internet of Things
-

Configuring a hierarchy of IoT Edge Devices at Home Part 3 – Configuring Business Planning and Logistics (IT)
In the last two posts Configuring a hierarchy of IoT Edge Devices at Home Part 1 – Configuring the IT Proxy and Configuring a hierarchy of IoT Edge Devices at Home Part 2 – Configuring the Enterprise Network (IT) we have set up the proxy and the top layer of the hierarchical IoT Edge network. This post…
-
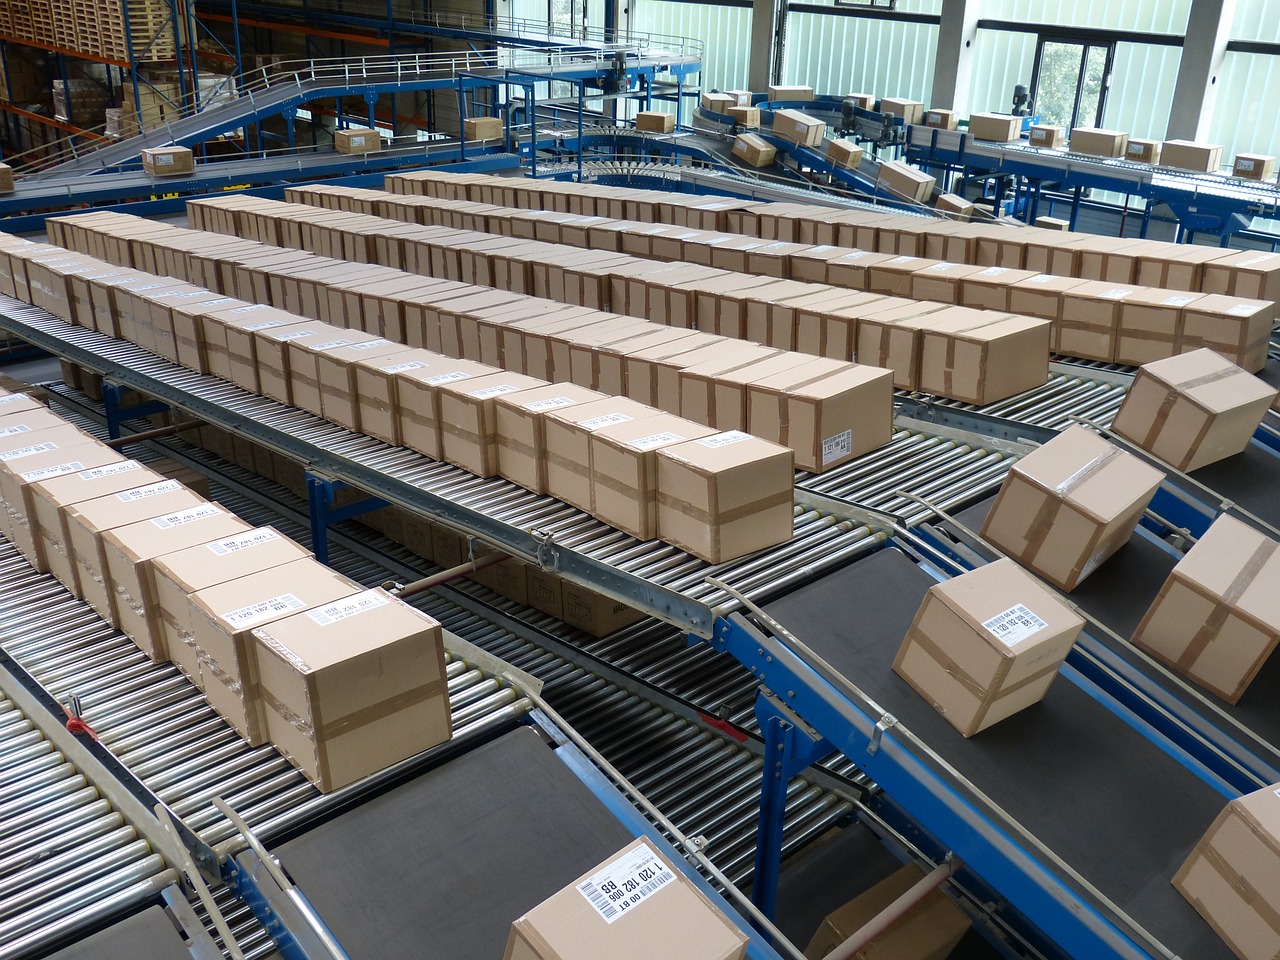
Configuring a hierarchy of IoT Edge Devices at Home Part 2 – Configuring the Enterprise Network (IT)
In my last post, I started explaining how to configure the IoT Edge device hierarchy’s IT Proxy. This post will go one layer down and set up the Layer 5 device from the Purdue model for manufacturing networks. Reconfiguring The Network While implementing network segregation in the cloud is relatively easy, implementing it with a…
-
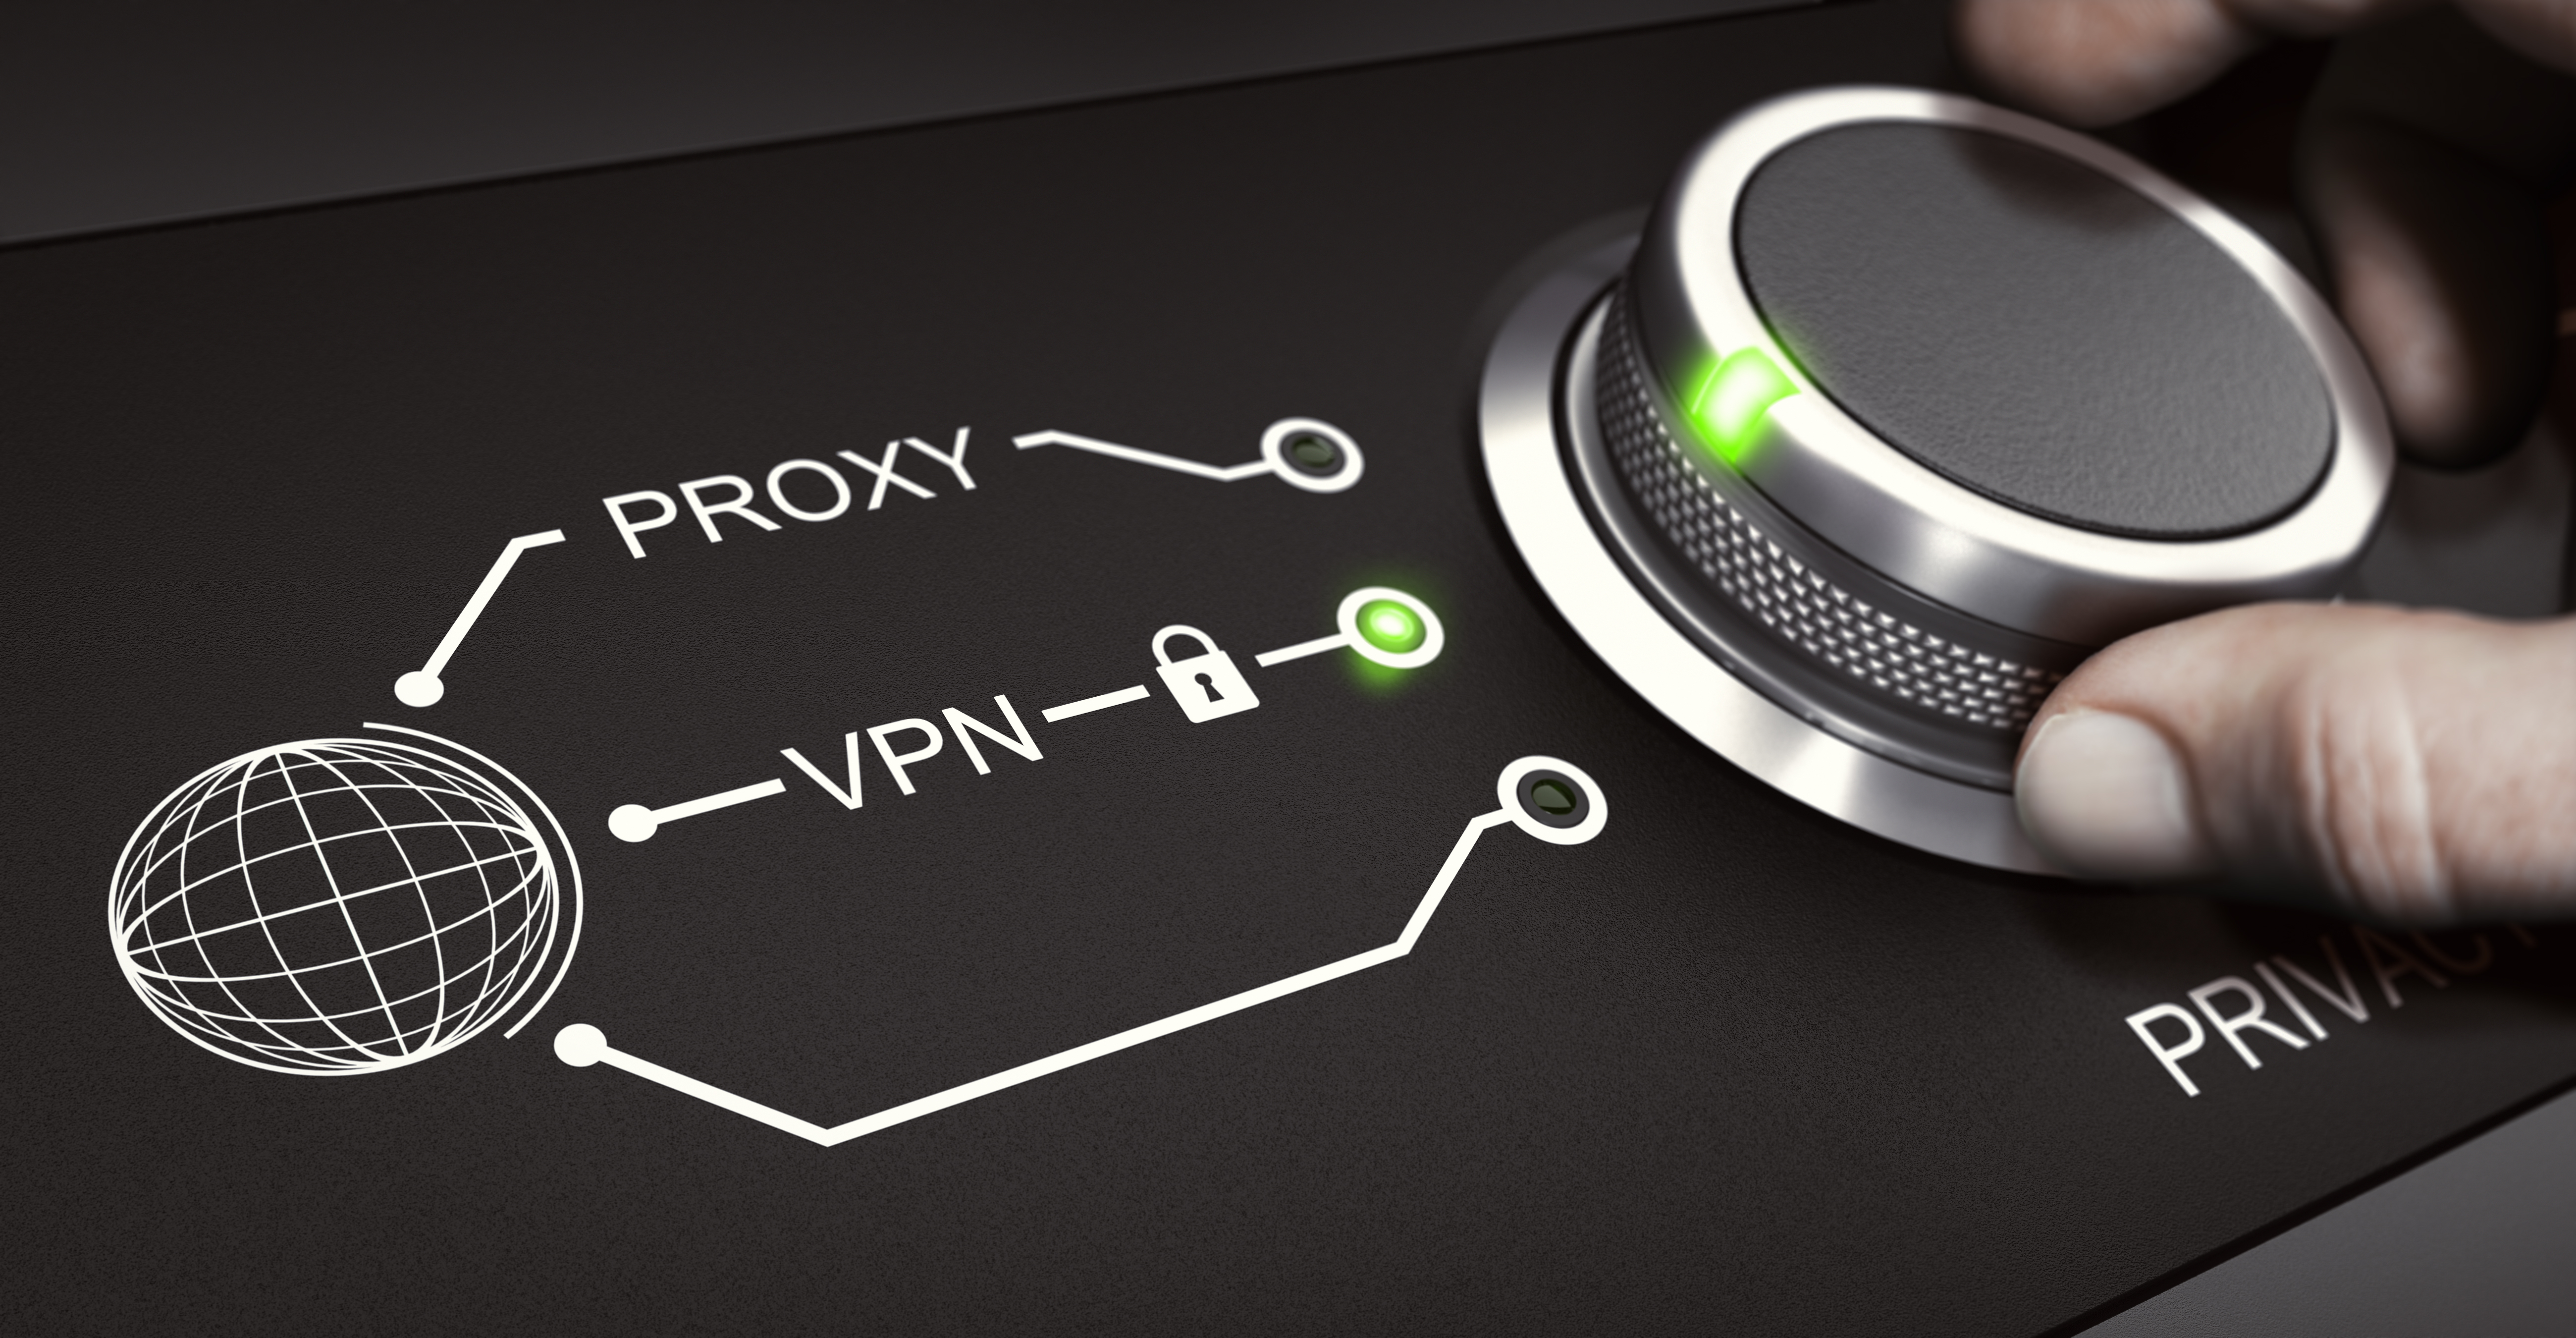
Configuring a hierarchy of IoT Edge Devices at Home Part 1 – Configuring the IT Proxy
To provide support for the hierarchical Azure IoT Edge scenarios we started working on a connected registry implementation that will allow extension of the Azure container registry functionality to on-premises. For those of you who are not familiar with what a hierarchical IoT Edge scenario is, take a look at the Purdue network model used…